AI Sprite Generator PNG Import: Mastering Game Assets
Learn the secrets of ai sprite generator png import for game development. Master tools, optimize assets, and refine your workflow for stunning results!
July 24, 2026 · Product News
## Mastering AI Sprite Generator PNG Import for Games
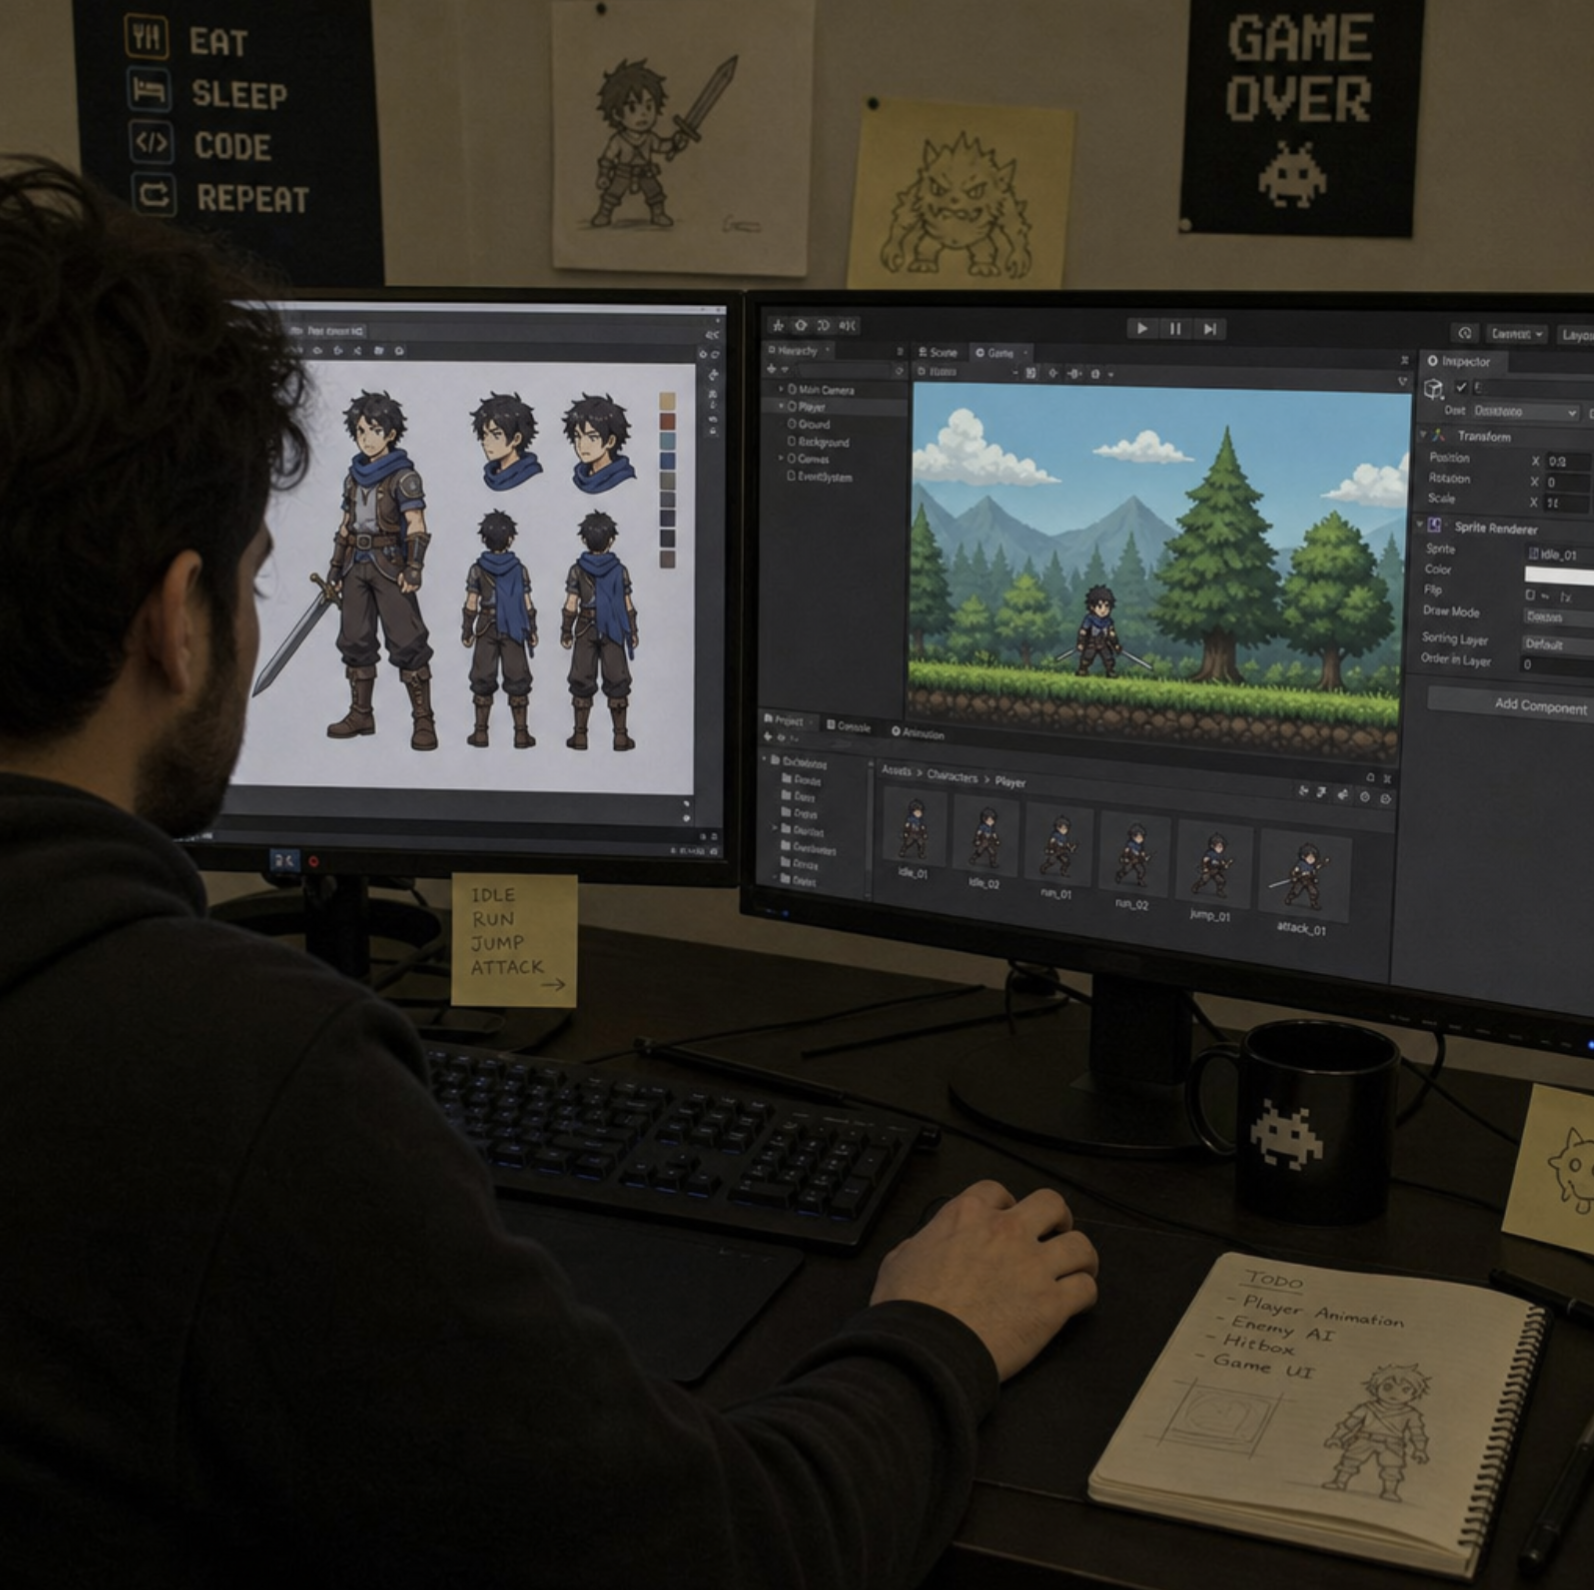
The landscape of indie game development has undergone a massive transformation in recent years. If you have recently asked an AI to make a sprite sheet, you likely marveled at the stunning initial concept, only to quickly realize a glaring issue: a static image is not a functional game asset. Bridging the gap between a conceptual image and a playable, animated character requires a specific, optimized workflow.
Whether you are a solo developer or part of a small studio, understanding how to transition from a raw AI generation to a polished, engine-ready asset is a game-changer. Today, we will explore the nuances of the ai sprite generator png import process, detailing how to refine, clean, and implement these assets seamlessly into your next project using an ai sprite generator and a sprite editor online where needed.
## Procedural Generation vs AI Sprite Creation
For decades, developers relied on programmatic solutions to save time. When comparing procedural generation vs AI sprite creation, the differences in workflow are stark. Procedural generation uses mathematical algorithms to assemble pre-drawn modular pieces—think of randomized weapons or endless dungeon tiles. It is efficient but often lacks a unique, handcrafted soul.
On the other hand, using an ai art generator allows for unprecedented artistic variety. Instead of coding variations, developers can simply describe a character's aesthetic, clothing, and posture. However, this artistic freedom comes with a technical cost. AI models output flat images, meaning developers must learn the specialized skills of converting AI images into game-ready sprites.
## Choosing the Right Tools and Models
Before you can import anything, you need the right base image. The best AI models for 2D character design currently include Midjourney, DALL-E 3, and specialized fine-tunes of Stable Diffusion.
Using Stable Diffusion for game developers is particularly powerful because of tools like ControlNet, which allows you to enforce specific poses. If you need your character in a strict T-pose or walking animation frame, Stable Diffusion gives you the granular control required for professional asset pipelines. Alternatively, Midjourney excels at raw artistic fidelity and concept generation.
### How to Generate Pixel Art from Text Prompts
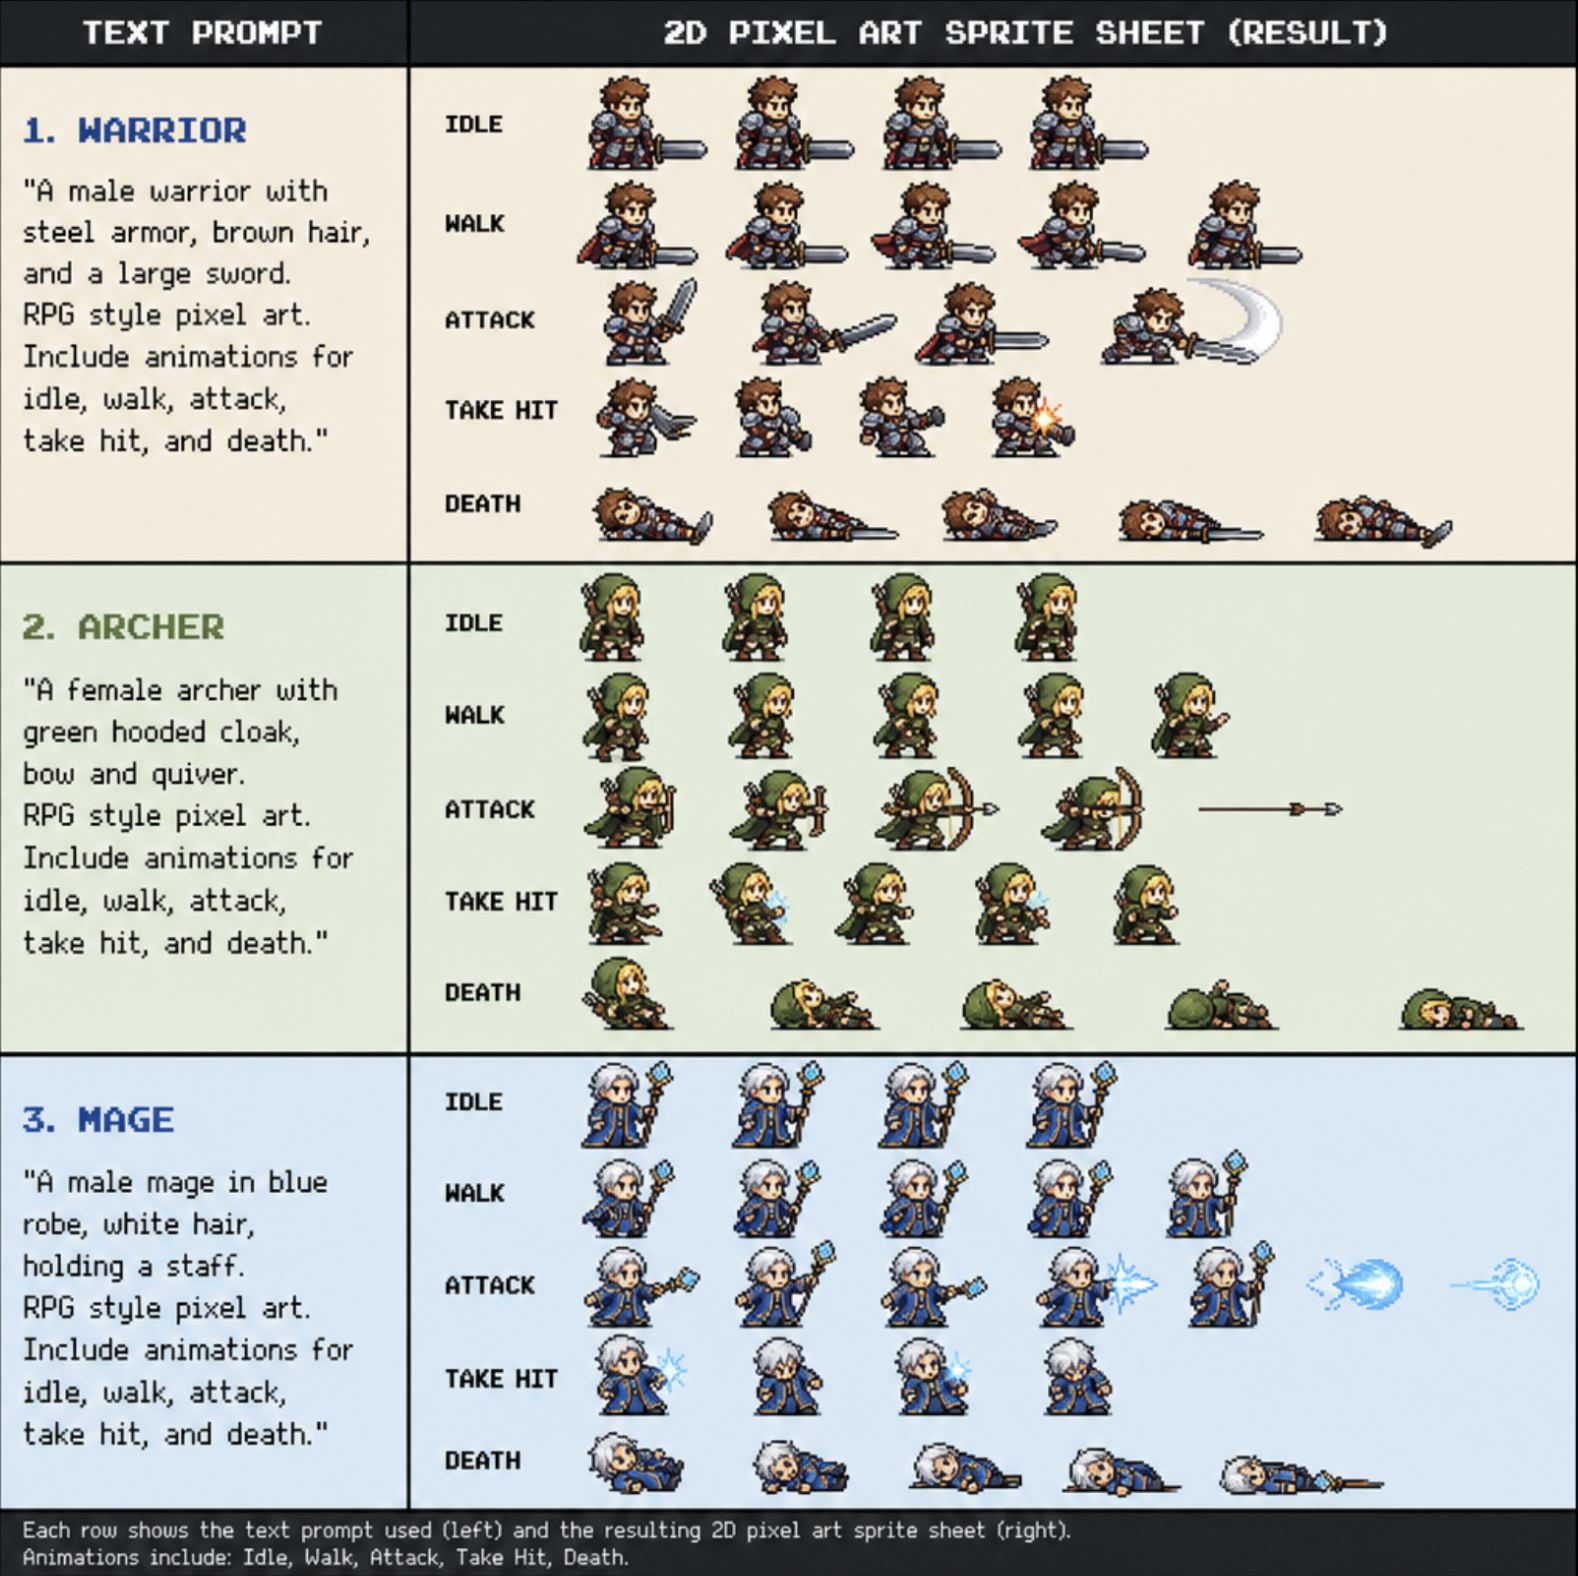
If you are aiming for a retro aesthetic, using a dedicated ai pixel art generator is your best bet. When learning how to generate pixel art from text prompts, your choice of words is everything.
Actionable Prompting Tips:
- Keep it flat: Always include phrases like "flat background," "solid color background," or "white background." This makes isolation easier later.
- Define the perspective: Use terms like "isometric view," "top-down 2D," or "side-scroller view."
- Specify the layout: If you want multiple frames, use "sprite sheet layout, character turnaround, animation frames."
Achieving consistent character design using generative AI is often the hardest part of the process. To maintain consistency across multiple sprite sheets, utilize character reference features (like Midjourney's --cref parameter) or train a lightweight LoRA (Low-Rank Adaptation) on your specific character.
The Midjourney to Sprite Sheet Workflow
Let's walk through a standard Midjourney to sprite sheet workflow . First, you use a standard ai image generator to create the character concept. Once you have a grid of acceptable animation frames (e.g., a run cycle), you upscale the image.
At this stage, you possess a high-quality JPEG or PNG, but it is trapped on a solid background. You cannot simply drop this into Unity or Godot. It must be sliced, cleaned, and properly formatted. This is where dedicated sprite tools come into play.
## Mastering the AI Sprite Generator PNG Import
Once you have your raw image, the next logical step is utilizing an ai sprite generator. These tools are specifically designed to take static AI art and help you segment it into usable animation frames.
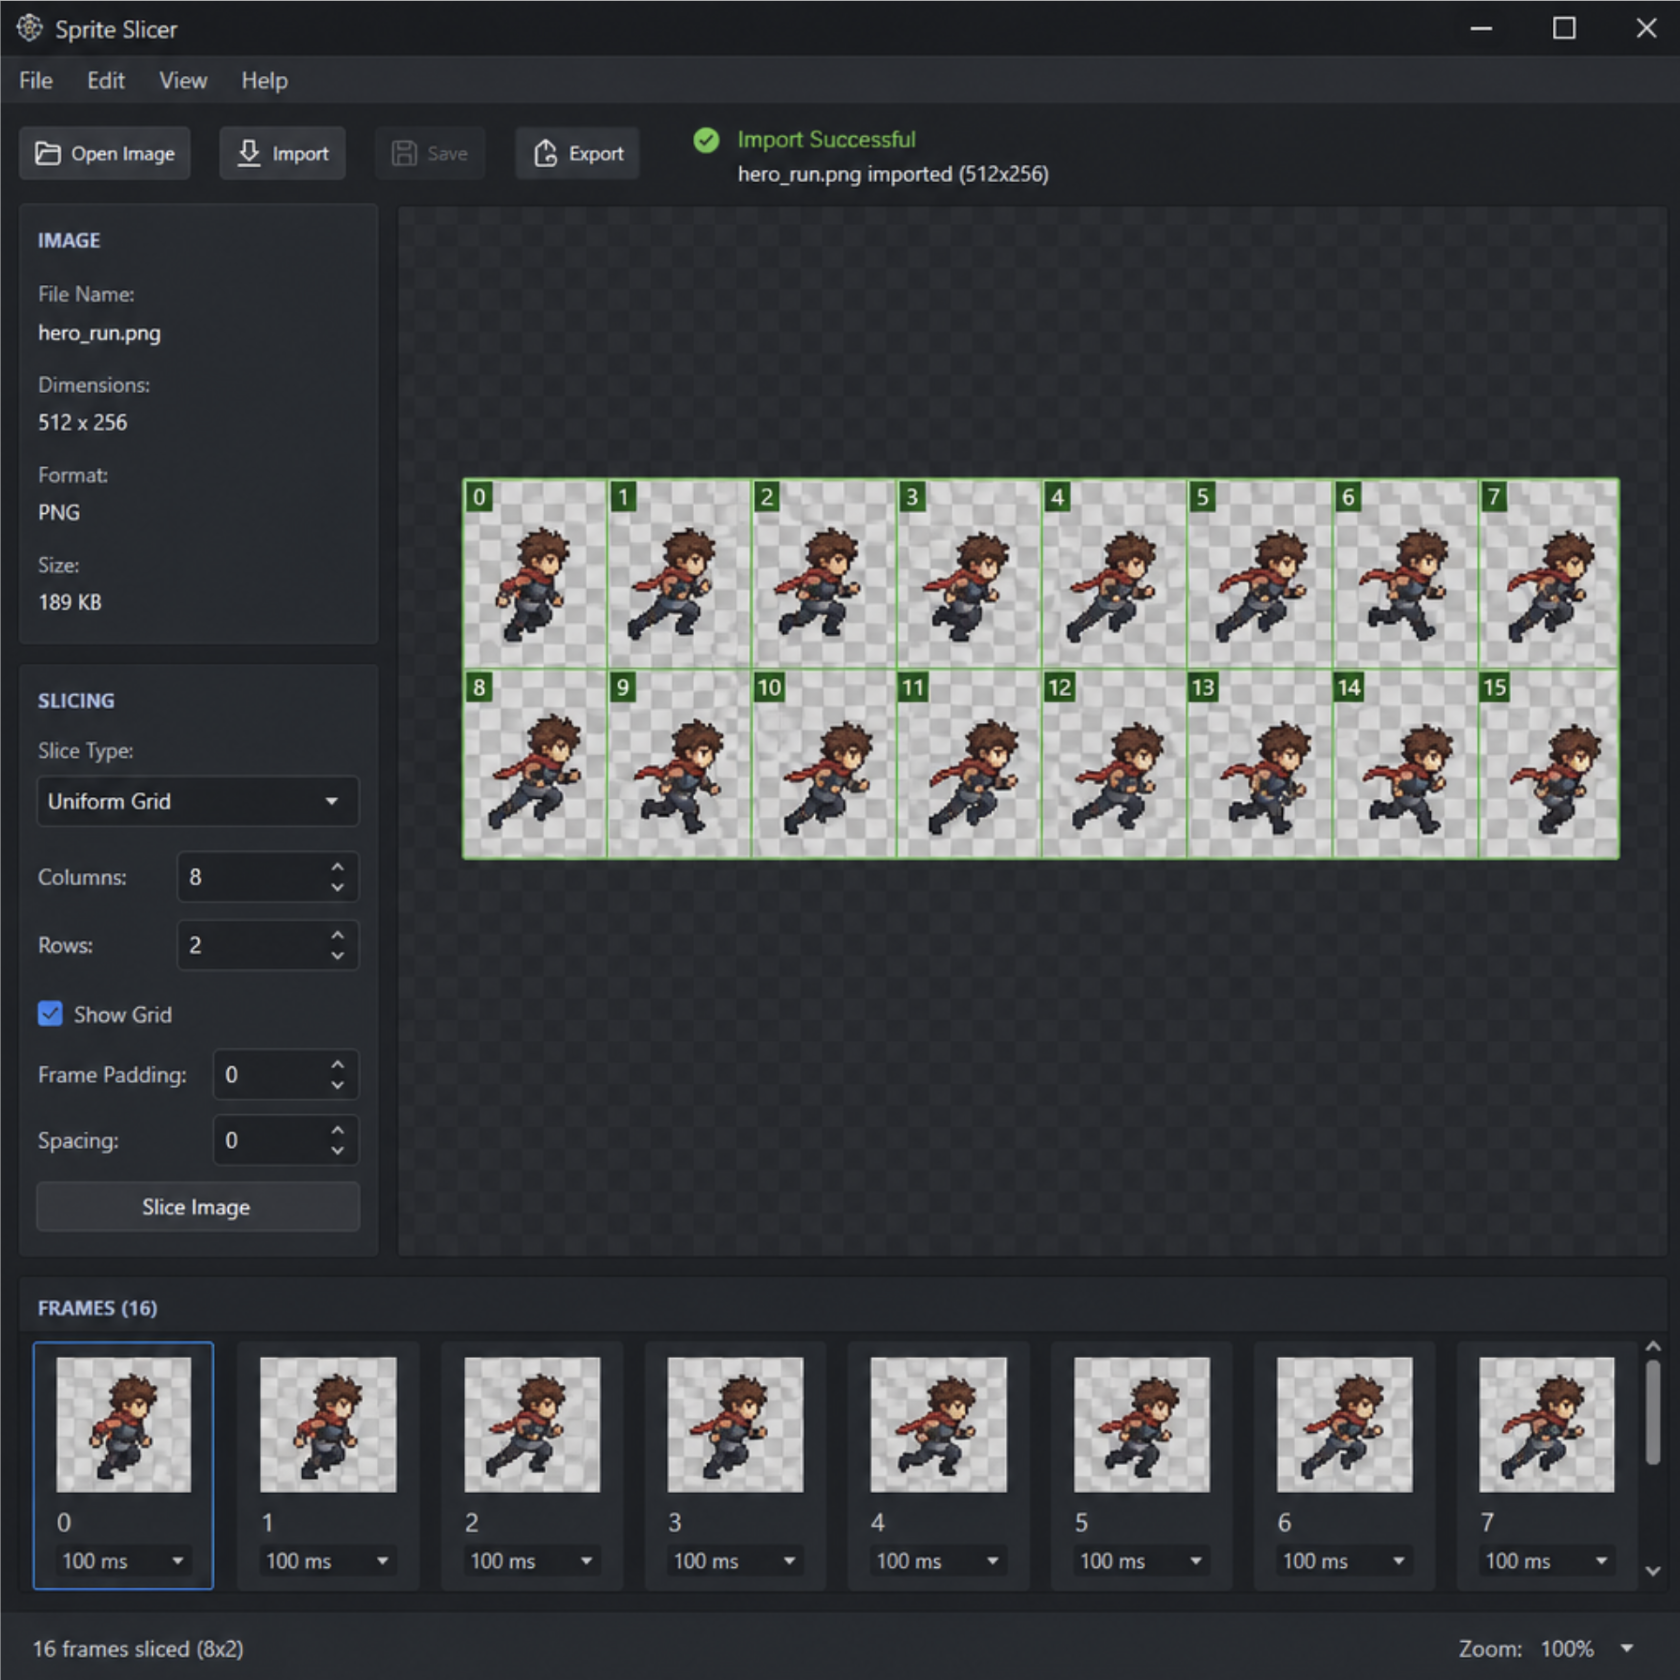
During an ai sprite generator png import, the software analyzes your uploaded image and attempts to identify the individual frames of animation.
Steps for a Successful Import:
1. Format Correctly: Ensure your file is a PNG. JPEGs introduce compression artifacts that ruin pixel-perfect assets.
2. Grid Alignment: Most generators require your frames to be evenly spaced. If your AI generated a messy, unaligned sheet, you may need to chop it up and align it manually before import.
3. Scale: Maintain a consistent resolution. If your game uses a 32x32 pixel grid, ensure your imported PNG scales cleanly to those dimensions without blurring.
Finding a true ai image to sprite sheet generator unlimited platform—one that effortlessly takes a single image, generates a flawless 360-degree turnaround, and outputs unlimited animated frames perfectly—is the holy grail of current AI development. While we aren't at a perfectly flawless "one-click" solution yet, specialized tools are rapidly approaching this level of automation, allowing for automated sprite sheet generation from prompts with minimal human intervention.
## Dealing with Backgrounds and Transparency
A frequently asked question among new developers is: can AI create transparent background PNGs ? Currently, most foundational AI models do not natively output files with empty backgrounds. They generate pixels across the entire canvas. Therefore, alpha channel transparency in AI art must be created in post-production.
Removing backgrounds from AI generated game assets is a mandatory step. You have a few options:
- Automated AI Removers: Tools like Remove.bg or Canva's background remover work well for high-resolution, painted assets.
- Color Keying: If you prompted your AI to use a solid green or magenta background, you can use a magic wand tool in any standard sprite creator to delete the background instantly.
- Manual Masking: For intricate pixel art, manual removal is often required to preserve the precise outline of the character.
## Perfecting Your Assets: Cleaning and Refining
Once the background is gone, your asset is still not ready for the engine. AI is notoriously messy at a microscopic level.
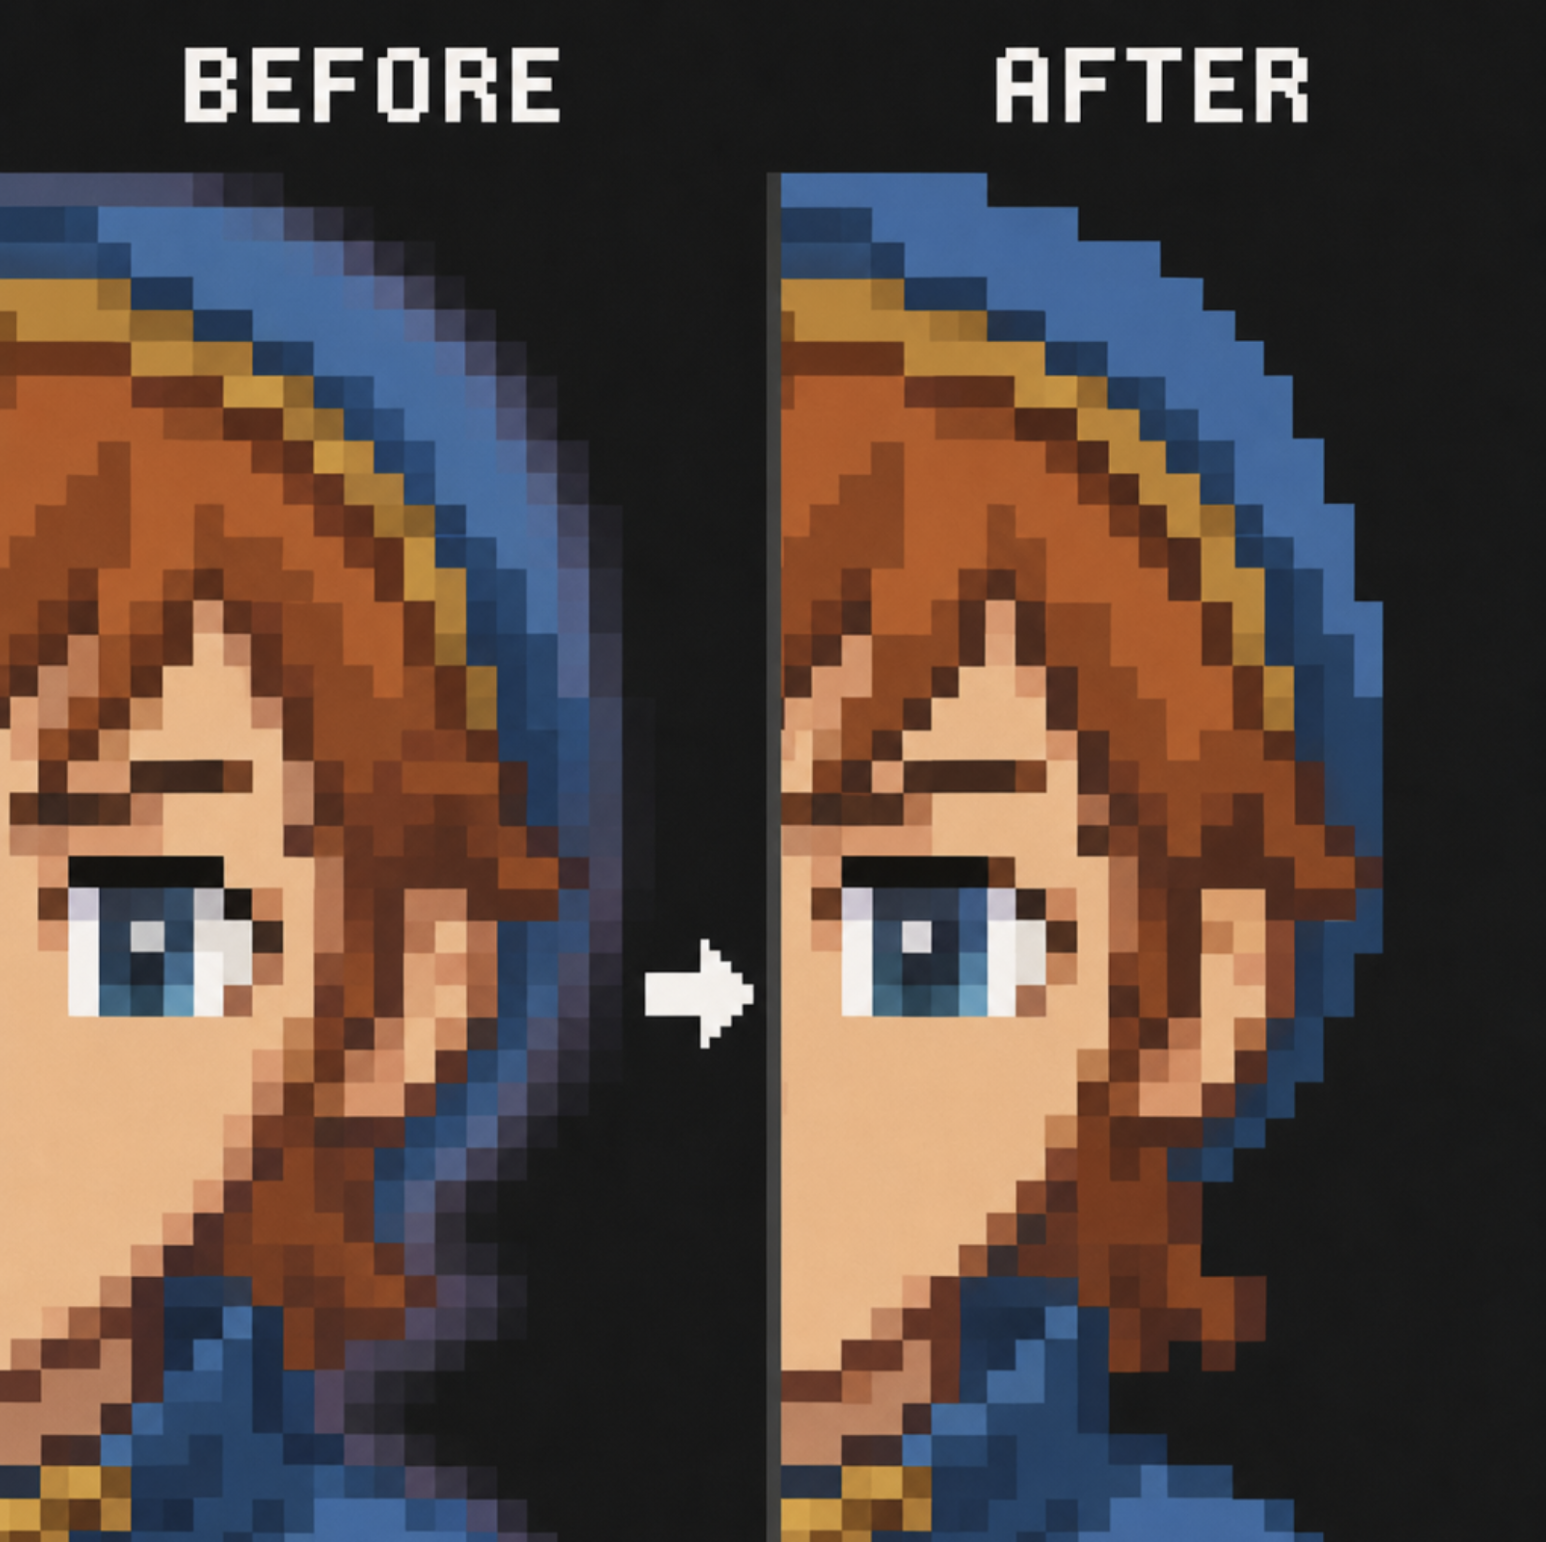
One of the most common issues developers face is fixing jagged edges on AI sprites. When an AI generates an image on a white background, removing that background often leaves a faint white "halo" or semi-transparent fringe pixels around the character. Against a dark in-game environment, this halo looks incredibly unprofessional.
To fix this, you should utilize a sprite editor online (such as Piskel, Photopea, or Aseprite if working offline).
Quick Cleanup Checklist:
- Defringing: Use your editor's "Defringe" or "Remove Matte" tool to strip away the semi-transparent edge pixels.
- Contrast Adjustment: AI art can sometimes look washed out. Bump up the contrast slightly to make the character pop against game backgrounds.
- Color Palletizing: If you are making a retro game, run your sprite through a color-indexing tool to reduce the image to a strict 8-bit or 16-bit color palette. This unifies the look of the asset.
Executing a flawless ai sprite generator png import into your cleanup software ensures you retain maximum image data before you begin cropping and indexing.
How to Import AI Assets into Game Engines
The final hurdle is bringing your polished PNGs into your game engine of choice, be it Unity, Godot, or Unreal Engine 2D. Understanding how to import AI assets into game engines requires knowledge of engine-specific texture settings.
When you export your final asset from your image editor, ensure you are doing a high-resolution PNG export for game characters (or a specifically scaled low-res export for pixel art).
### Unity Import Settings for AI Sprites
If you are importing your new AI-generated sprite sheet into Unity, you must configure the texture settings immediately upon import to avoid a blurry mess:
1. Texture Type: Change this from "Default" to "Sprite (2D and UI)".
2. Sprite Mode: If you imported a sprite sheet, set this to "Multiple". You will then use the Sprite Editor to slice the image into individual frames.
3. Pixels Per Unit (PPU): Standardize this across your game. If your character is 64 pixels tall and should take up one unit of in-game space, set the PPU to 64.
4. Filter Mode: This is crucial. Change it from "Bilinear" to "Point (No Filter)". This stops the engine from blurring the pixels, keeping your ai pixel art generator output crisp.
5. Compression: Set to "None" or "High Quality" to prevent compression artifacts from ruining the subtle details generated by the AI.
### Optimizing AI Generated Images for 2D Games
While AI allows you to generate massive, incredibly detailed 4K character images, dropping raw 4K images into a 2D game will quickly destroy your game's performance and bloat the file size.
Optimizing AI generated images for 2D games involves creating Texture Atlases. Instead of having fifty separate PNG files for a character's run, jump, and attack animations, pack them all into a single, power-of-two (e.g., 1024x1024 or 2048x2048) sprite sheet. Game engines process a single large image significantly faster than dozens of smaller ones, saving valuable draw calls during gameplay.
## Final Thoughts on the AI Game Dev Pipeline
The integration of artificial intelligence into game development is not about replacing the developer's touch; it is about expanding what a single creator can achieve. By mastering the pipeline—from crafting the perfect text prompt to carefully executing an ai sprite generator png import—you can populate your game worlds with rich, diverse assets in a fraction of the time it once took.
Remember that AI is just a tool. The magic happens in the post-processing. Take the time to clean your alpha channels, fix jagged edges, and optimize your sprite sheets. By combining the speed of generative AI with meticulous technical implementation, you can elevate your indie game from a simple prototype to a visually stunning masterpiece.